Vehicle inspections
Capture condition once — photos and notes on the vehicle — so you are not arguing from memory after the job. Useful for walkarounds, intakes, and follow-ups.
Before you start
- Your business type must support vehicles.
- Add the customer’s car under Vehicles (or from the customer detail page) before you inspect.
The inspection flow
1. Open Vehicles
Step 1
Vehicles list to pick a car
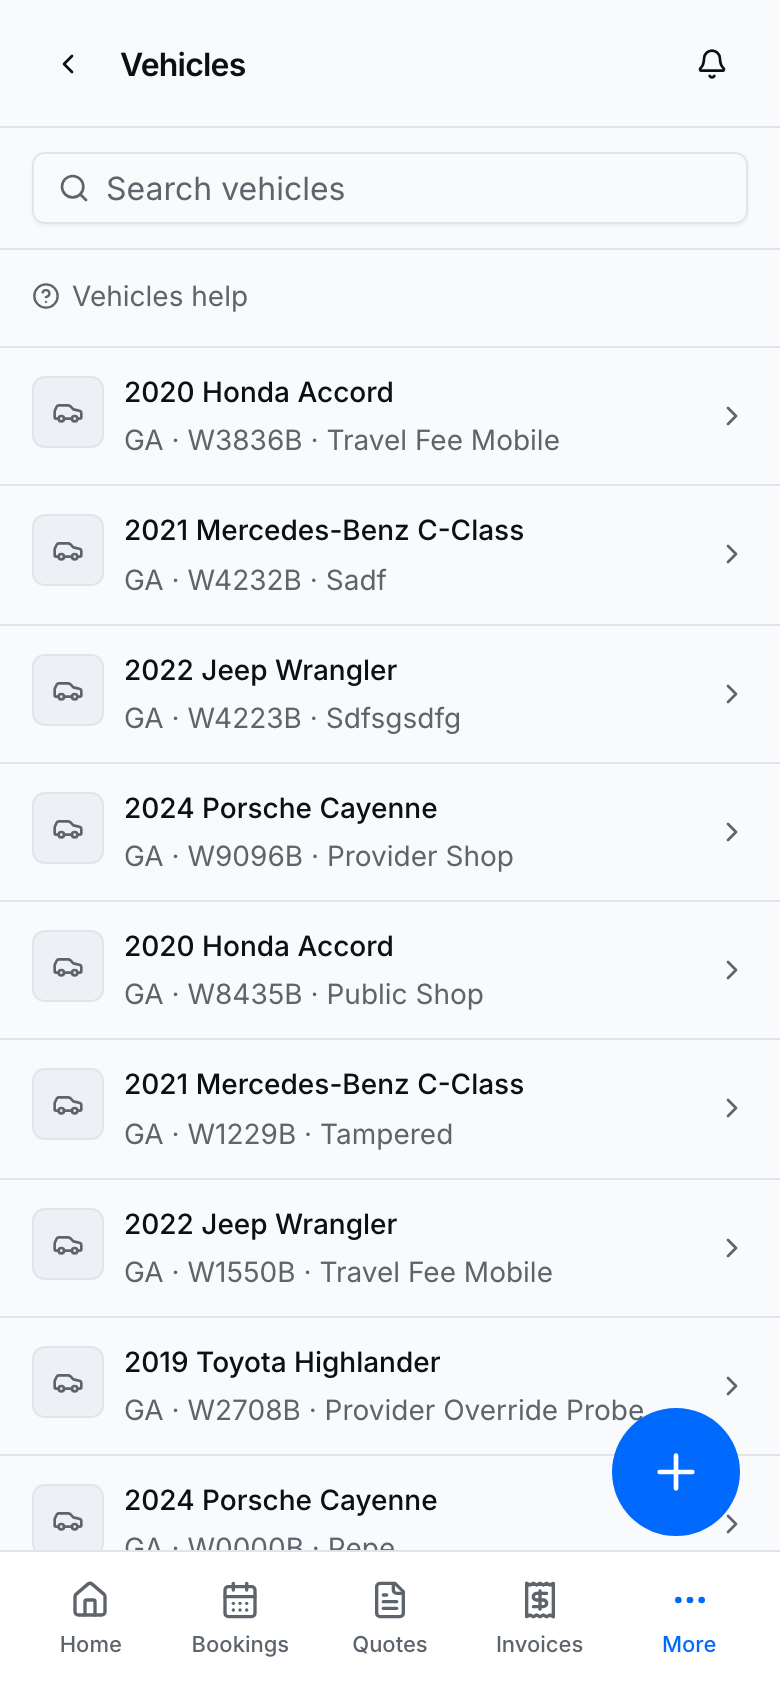
Start from Vehicles.
2. Open the vehicle
Step 2
Inspections log on the vehicle
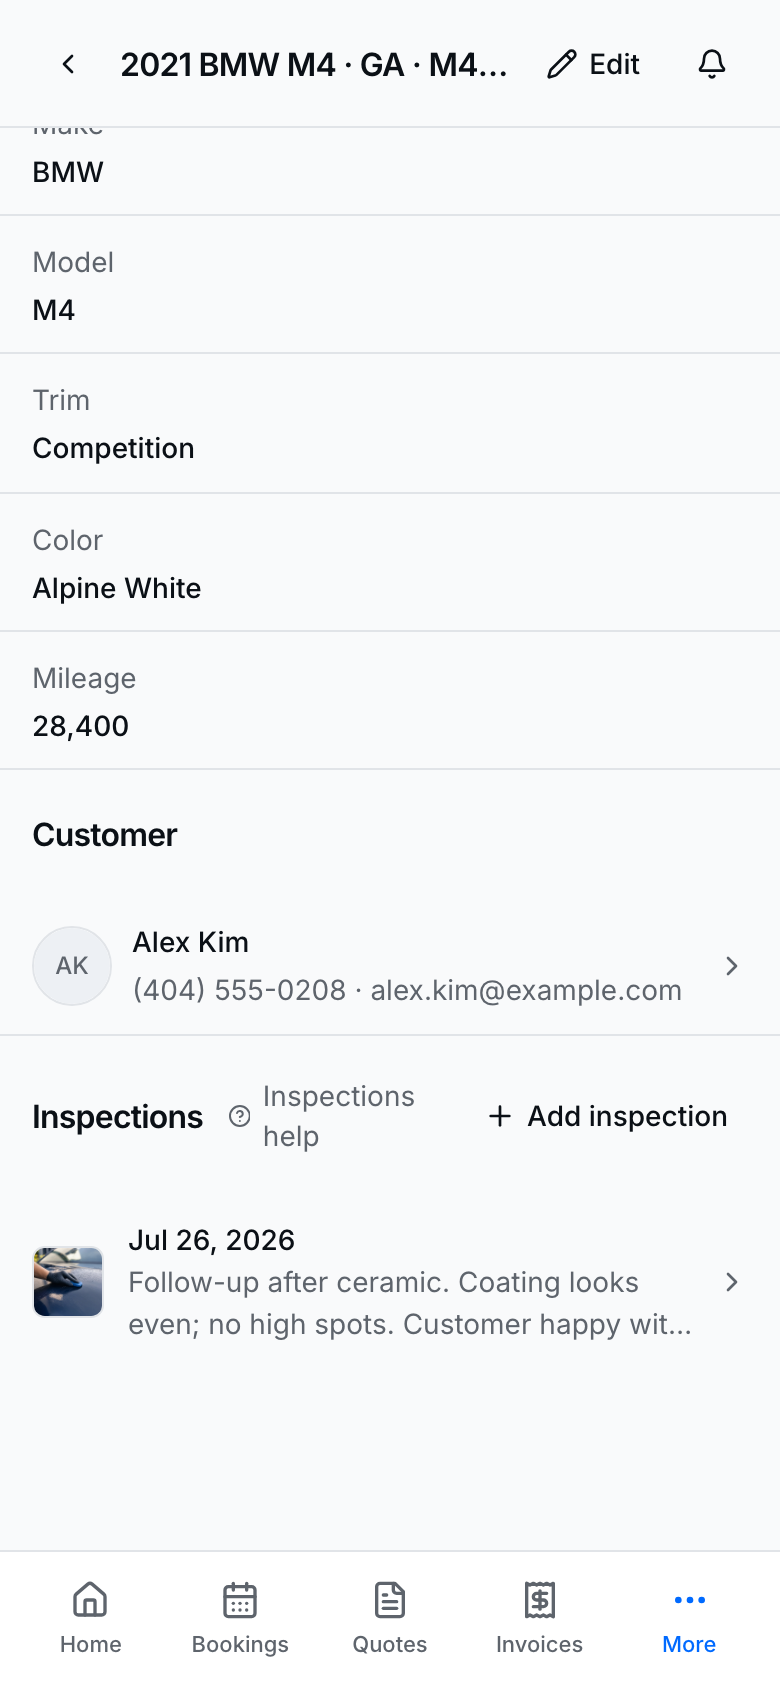
Scroll to Inspections on the right (owner and bookings for that vehicle sit above).
3. Review an inspection
Step 3
View a saved inspection with notes and photos
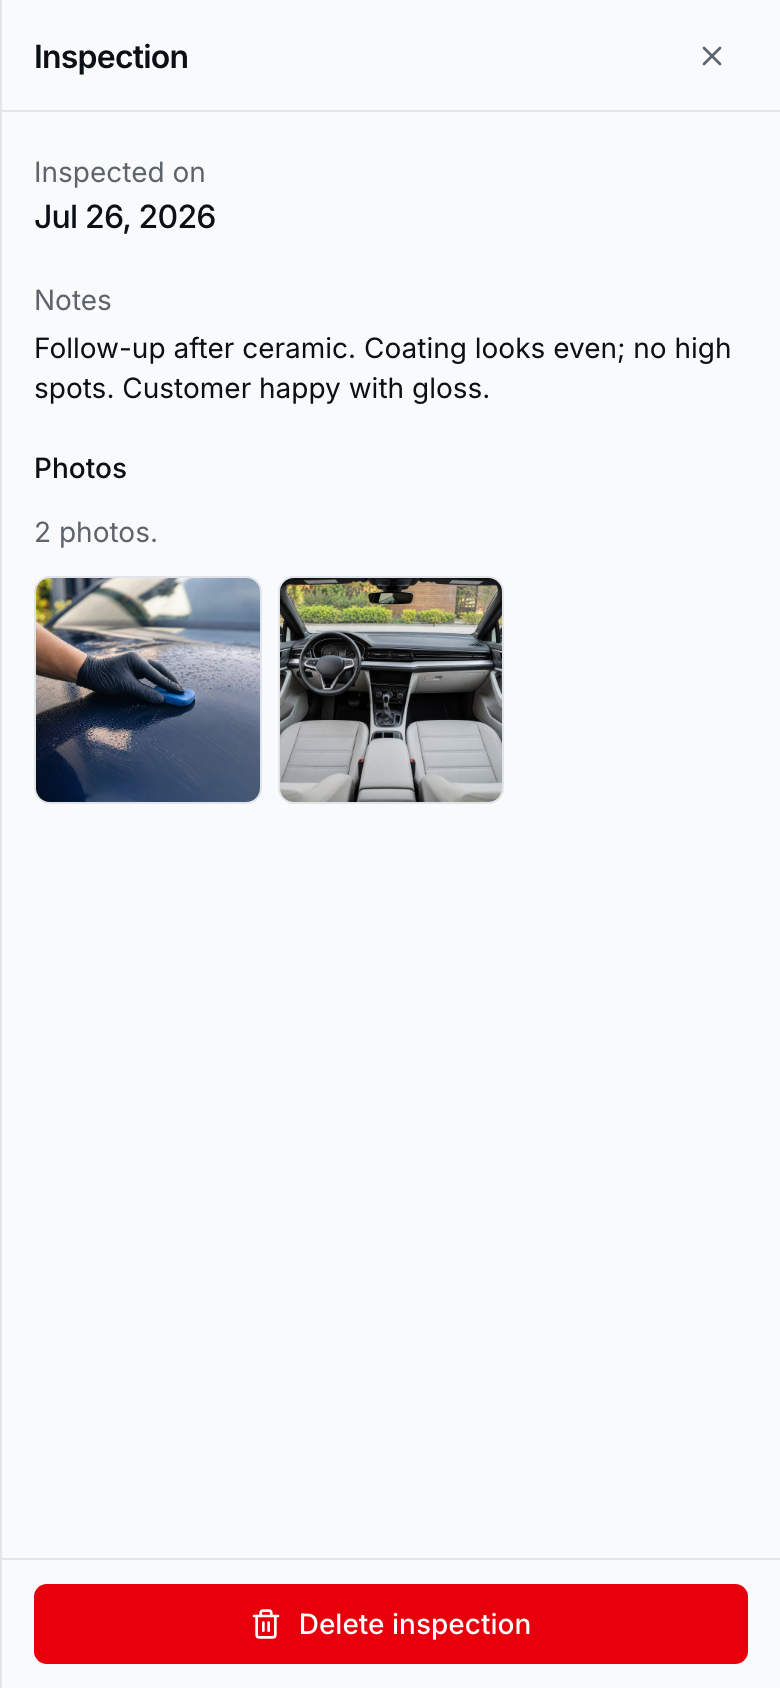
Saved inspections are view-only. You can delete; you cannot edit notes or photos after create.
Add an inspection
- Open the vehicle → Add inspection.
- Write notes (required).
- Add at least one photo (JPG/PNG; up to 10).
- Save — the inspected-on date is stamped by the server.
- Open a row later to review; use Delete inspection if it should not stay.
Tips
- Use clear photos and short notes so the log stays useful months later.
- Inspections live on the vehicle detail page only (not on the public site).
- Attach the same vehicle on the booking so the job and inspection history stay linked — see Customer vehicles.